

How Tap In Audi A4 Amp To Add Subwoofer
The installation is reasonably easy. Yous should judge nigh iii-4 hours to practise it, taking your time with the trim removal and laying out the Dynamat.
If using other subs I'd be sure to cheque their minimum ability requirement. The JL 10W1V2-eight I used is specified for 60W minimum. The stock amp won't drive a sub with likewise high of a power requirement.
Overview: remove the D-colonnade covers and the B&O speaker grills, remove Torx screws, remove rear deck embrace, swap the sub, lay some Dynamat (optional, only recommended), wire it in, reinstall trim.
Drib the back seats down. You'll need to do this for easy admission and to get at the rear deck cover lip. Remove the Torx screw from the bottom of the stock sub, attainable from the trunk.
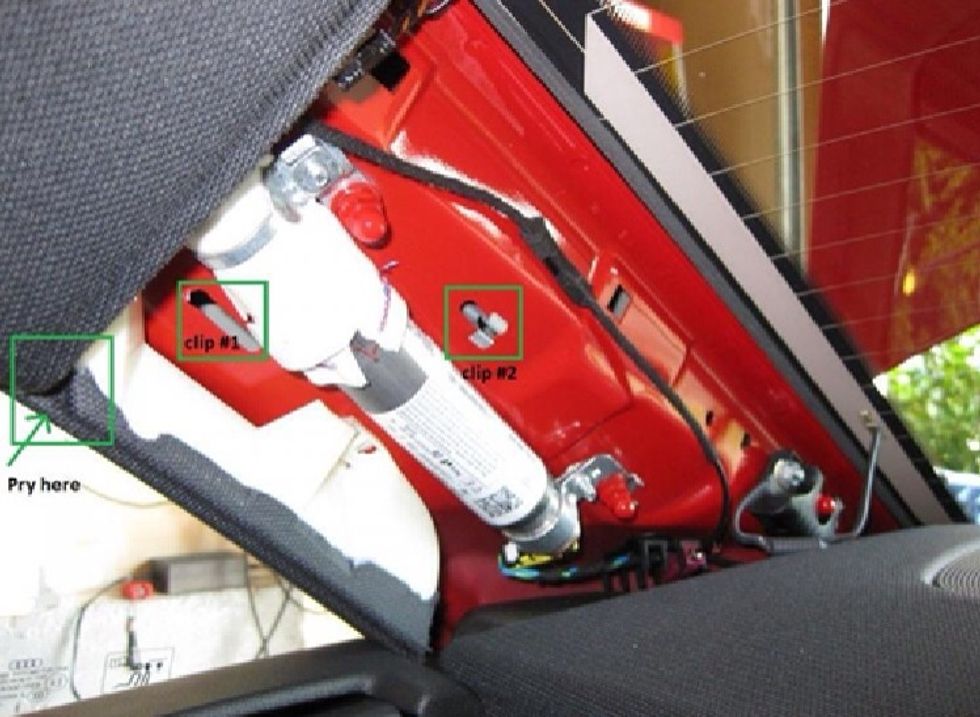
Remove the D-pillar covers. There is a modest notch at the summit front (left side of pic) of the cover that you lot tin can use to slip in a screwdriver. Pry slowly until the 2 clips give & the panel pops off.
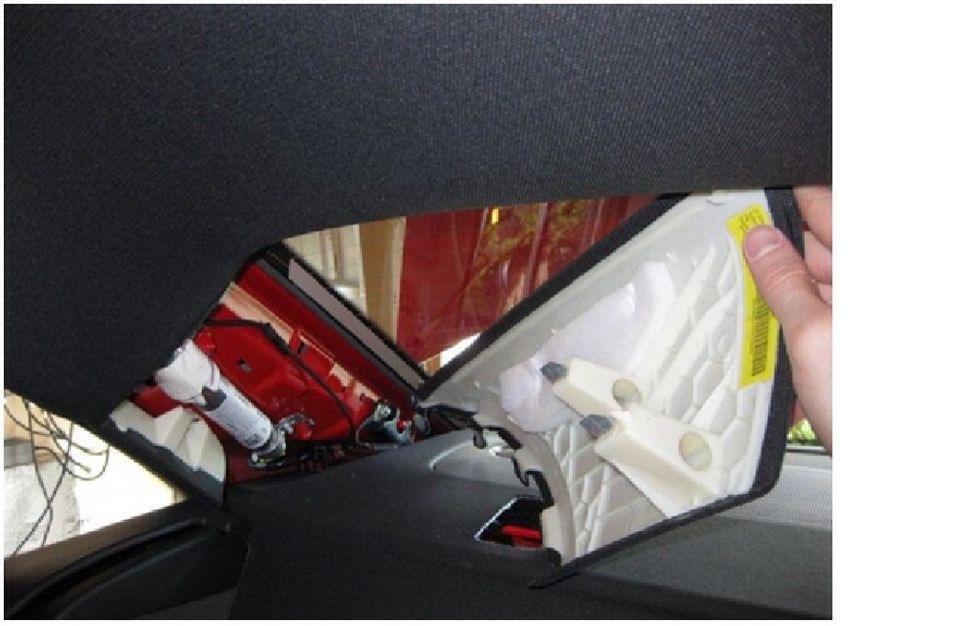
These must come off as in that location are 4 tabs that slot into the rear deck lid. Use a semi-short screwdriver every bit yous don't want to impairment the airbag accuse that'southward inside the pillar.
Remove the B&O speaker grills, both left and right. Gently pry up around the edge from one cease to another (paint tin tool) until information technology pops out. CAUTION - the grill is very, very easily cracked..
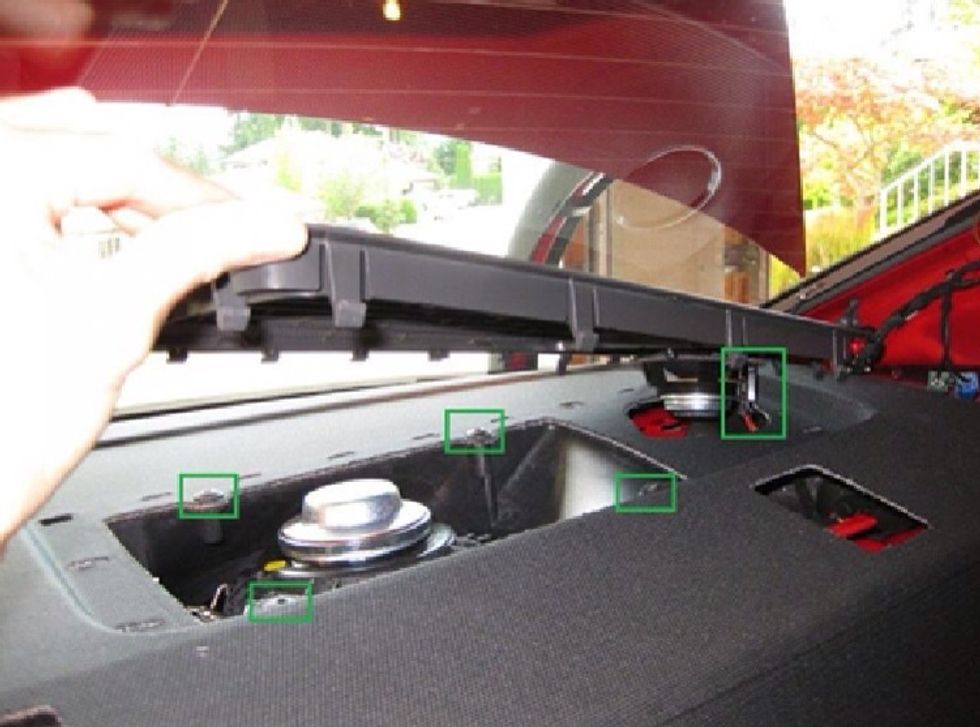
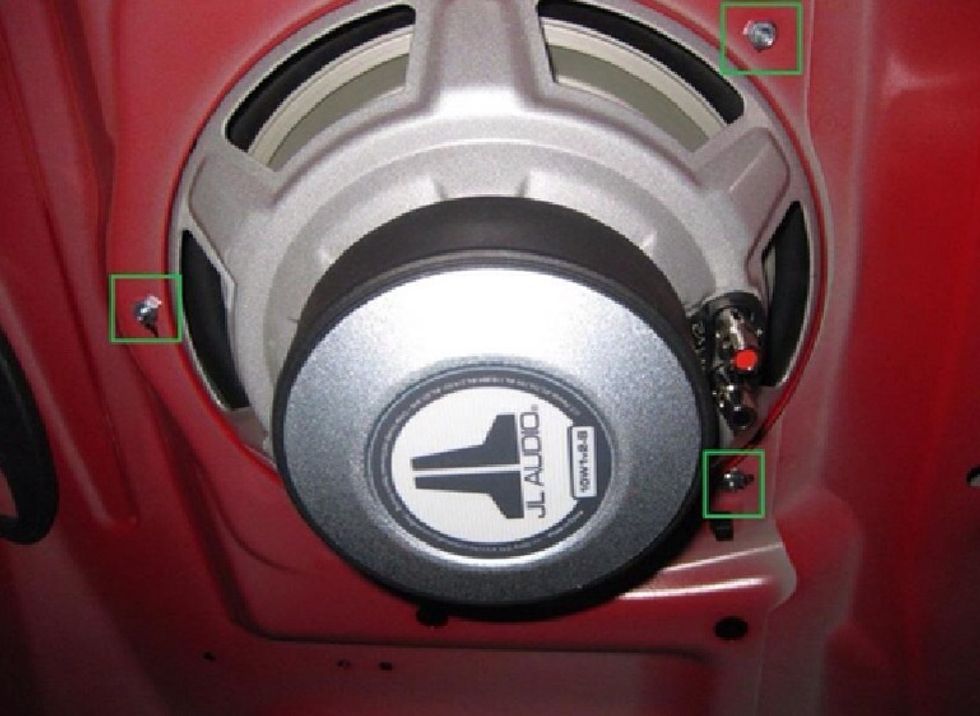
Remove the speaker wire from the tweeter (small-scale speaker). Remove the 4 Torx screws holding the deck comprehend to the subwoofer housing.
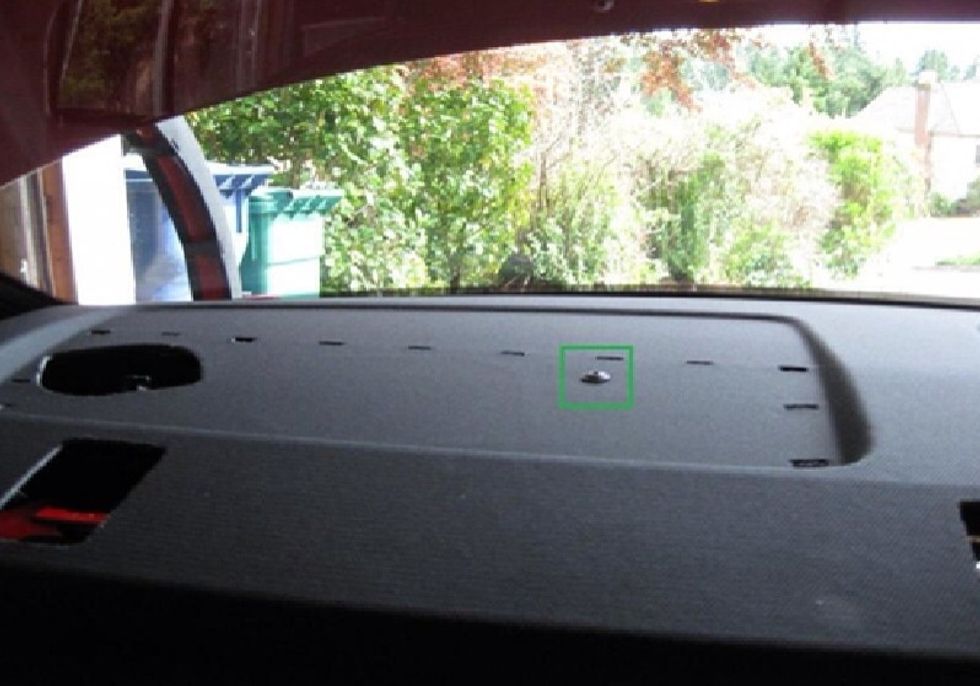
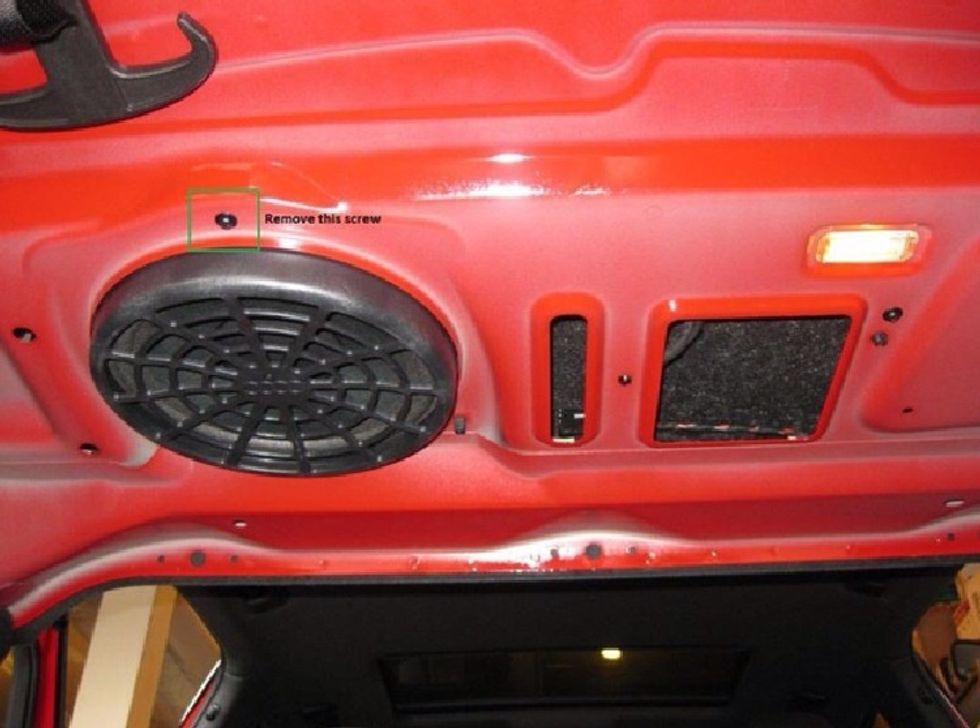
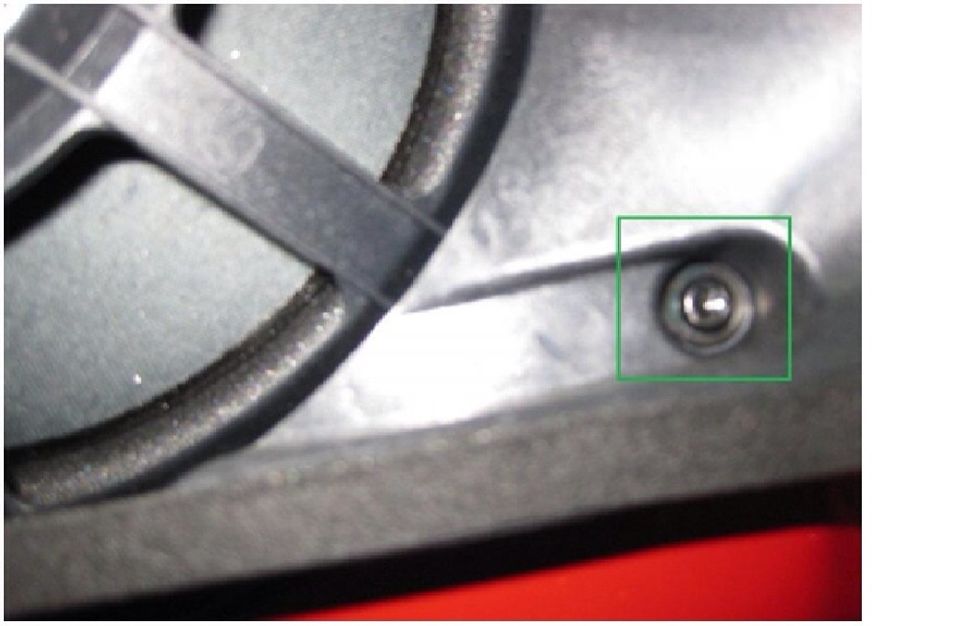
Remove the Torx screw under the left speaker grill. This holds the deck cover on to a support bracket below.
The deck cover is free to remove. There are four clips forth the forepart, where the seat backs lean up confronting information technology. Lie downwardly across folded down seats and push up against the front of the deck cover.
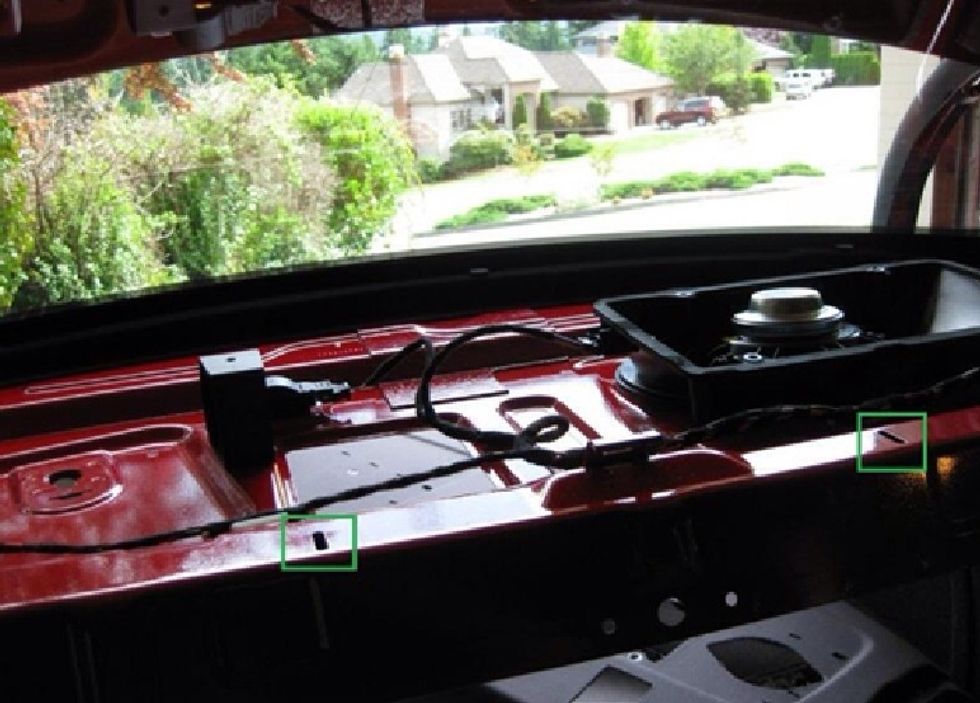
There are ii Torx screws downward inside the front of the sub housing. Remove these and the housing should lift out. Here'due south 1...
...hither's the other. After, disconnect the speaker wire and lift out.
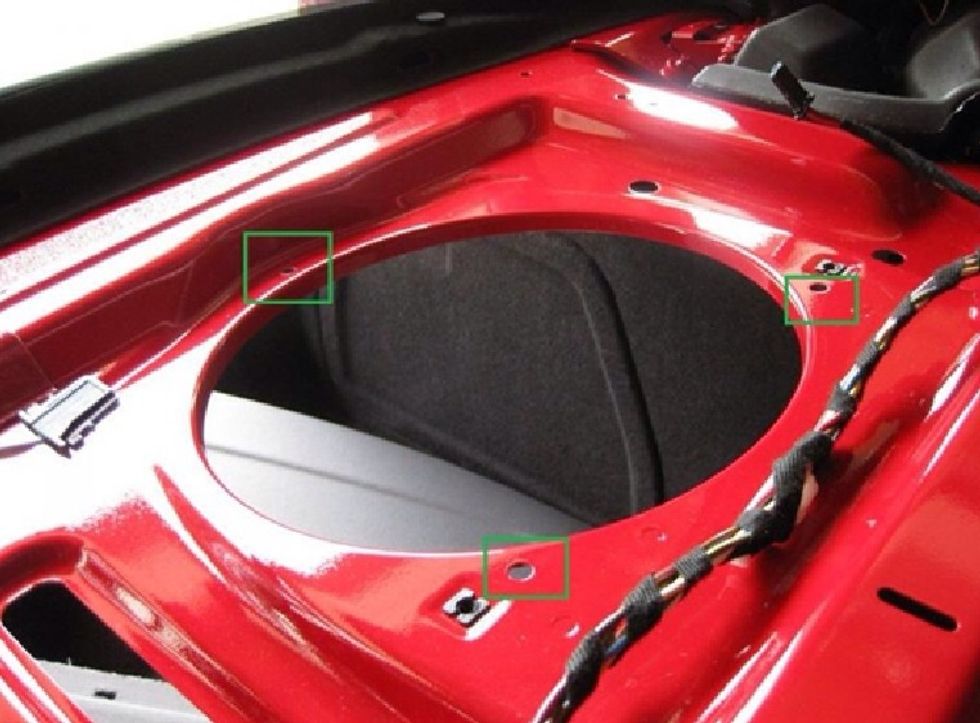
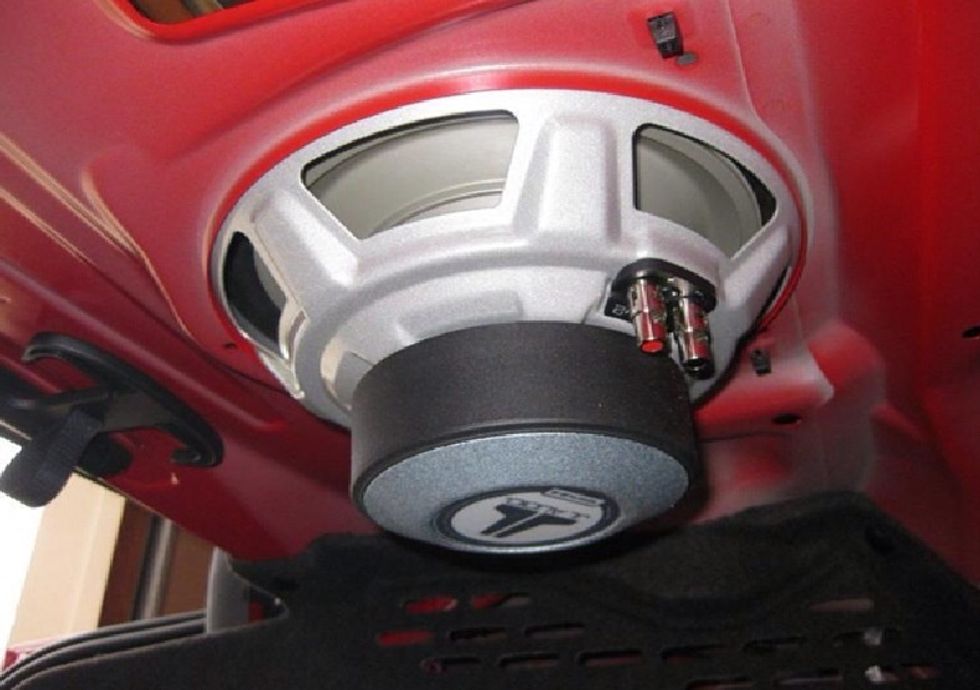
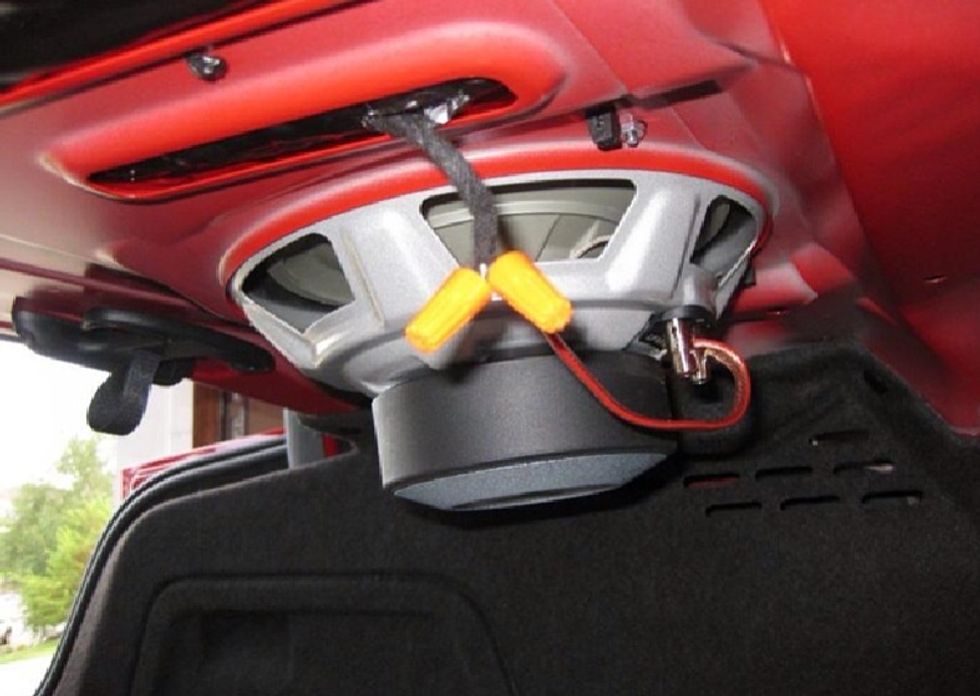
The new sub drops right in the hole from the old sub. There are 3 screw holes around the housing that line up perfectly with the mounting holes in the new JL sub.
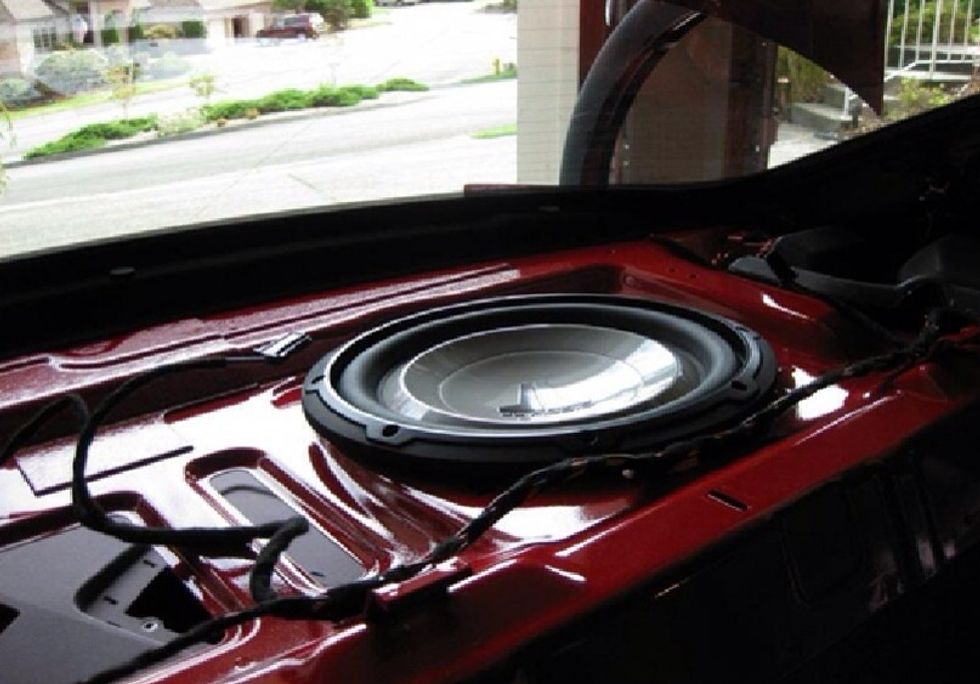
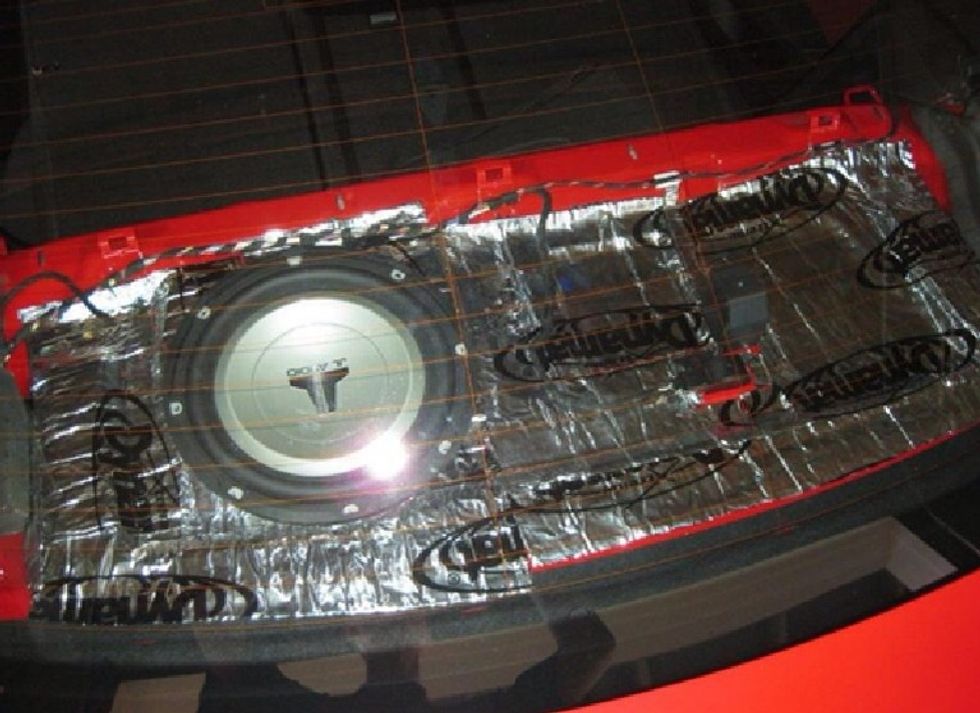
Here are a few shots of the sub fit check, before pulling it out to utilize the Dynamat. Shot 1 here...
Shot 2...
And shot iii...
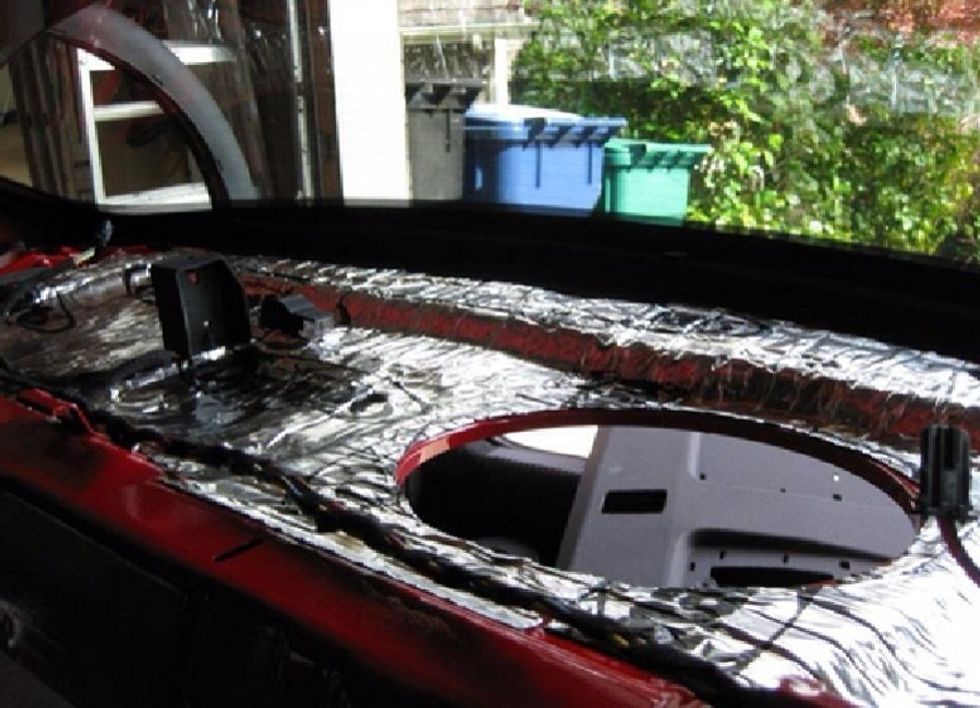
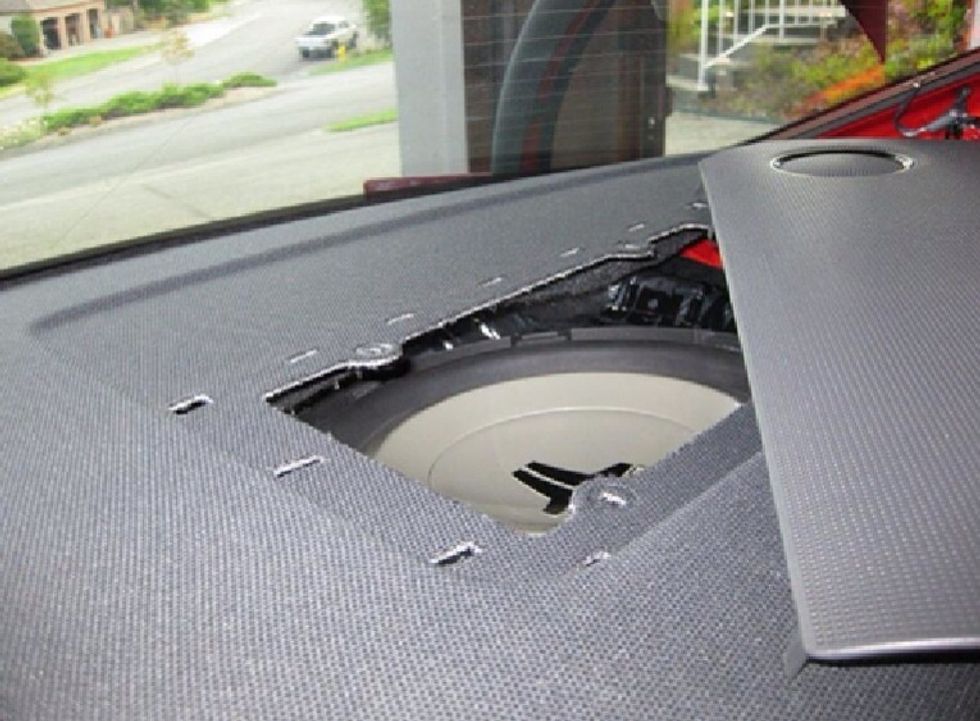
You want to brand sure that all holes are covered and the Dynamat has been stuck downwardly securely. If non, it won't be as effective. You lot tin can bank check for light leaks w/ body closed.
The lip of the JL sub is not a perfect seal, specially where the Dynamat terminates.
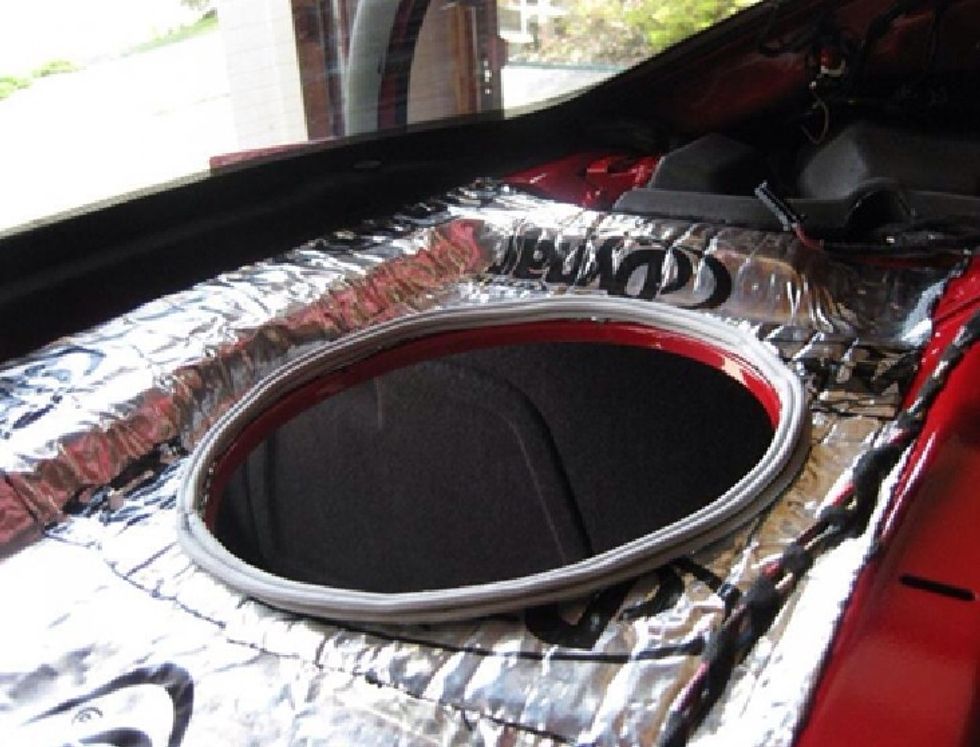
To complete the new sub interface, use 1-two rings of rope caulk (home depot) to create a reliable and working seal.
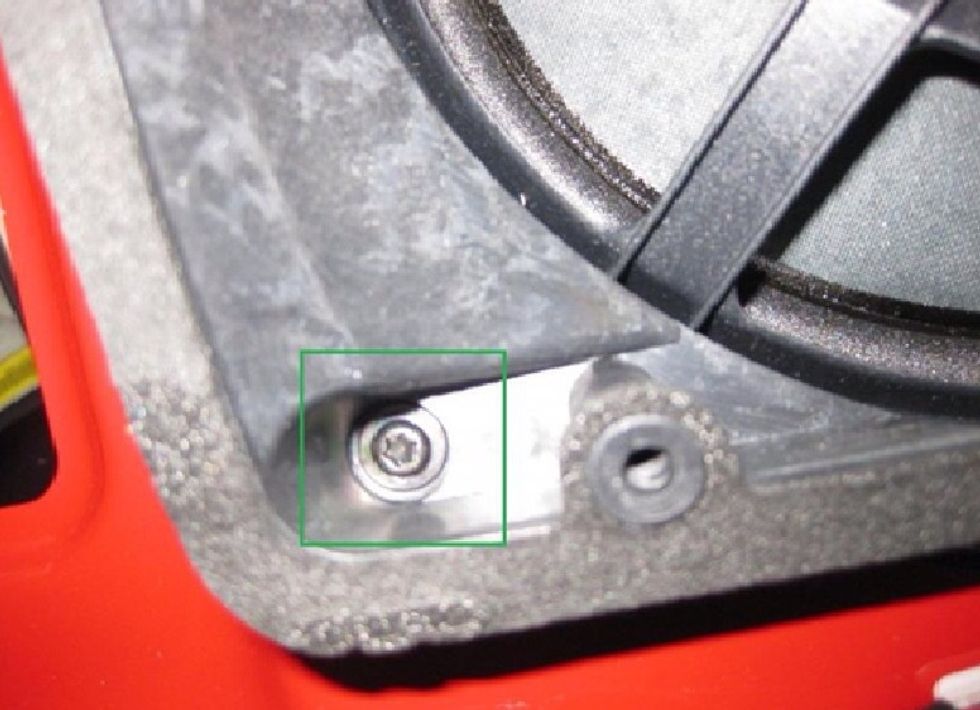
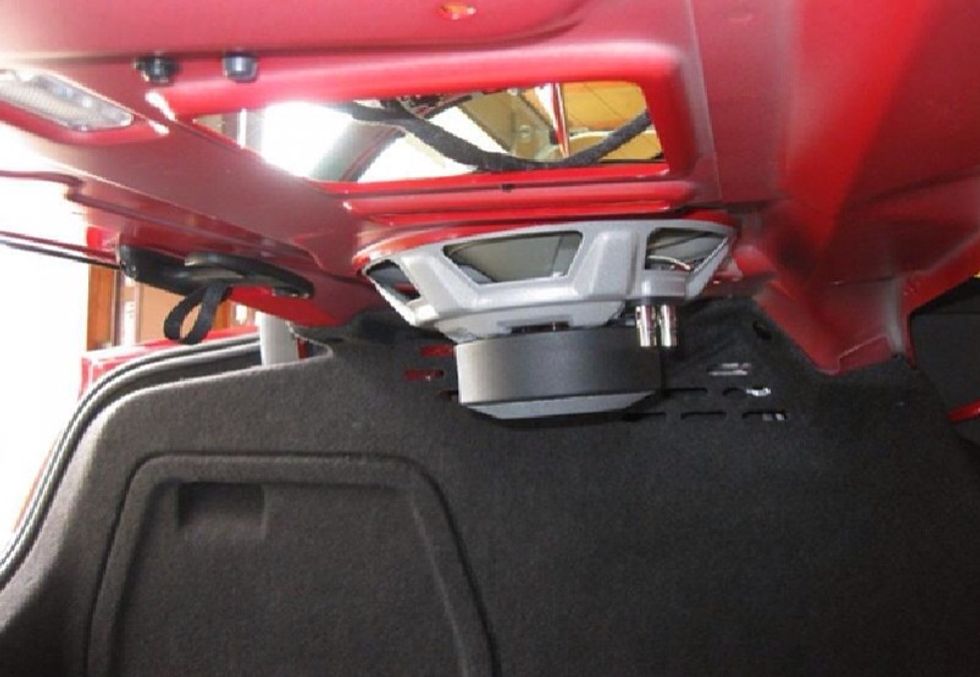
Bolt the sub in identify using #eight-32 1/2" (or longer) machine screws. There are 3 holes that line up with the mounting holes in the sub. I didn't experience a need to drill additional holes.
Clip off factory plug to wire the new speaker. Sub is now facing opposite way, so negative wire goes to positive terminal. In the A5, the Blue/Xanthous wire should be wired to the positive sub terminal.
Put the deck cover back in place, there's enough of clearance for the new sub. Re-adhere speaker wires for tweeters. Don't forget center bracket spiral. Button downward forth the forepart & the 4 clips snap in.

Push the B&O speaker grills back into identify. Slot the 4 tabs in the D-colonnade covers back into the deck cover and popular them back into place. Enjoy your new sub!
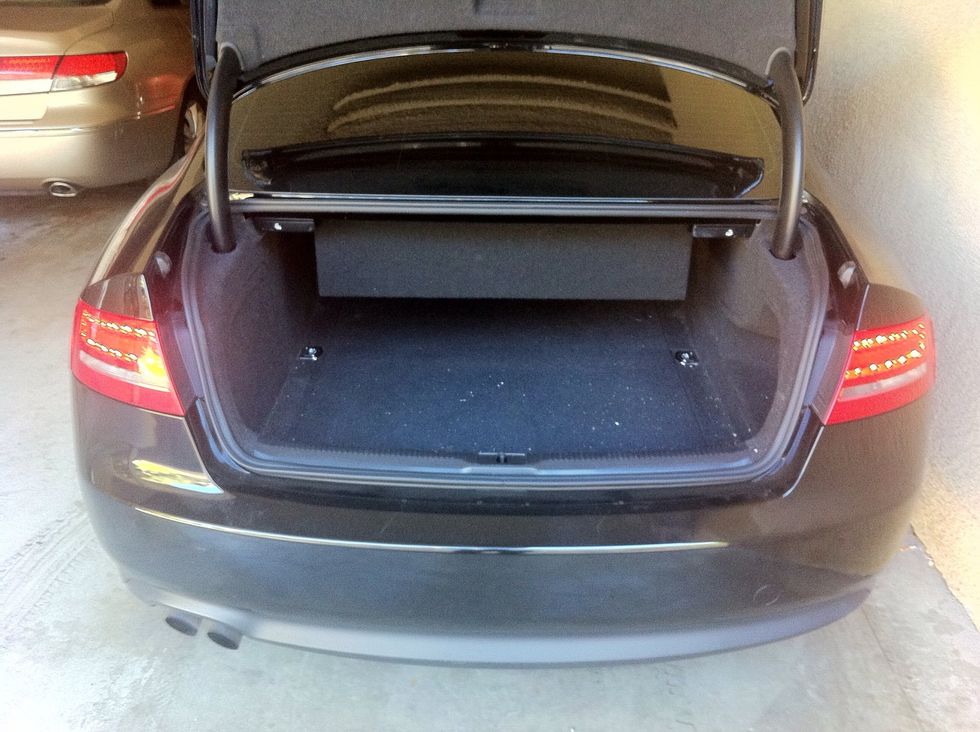
I too built a custom ported enclosure and sealed/bolted information technology upward against the bottom of rear deck. If you are of higher skill and desire to really go for it, I can send you the plans for that.

How Tap In Audi A4 Amp To Add Subwoofer,
Source: https://guides.brit.co/guides/audi-a4a5-bang-olufsen-subwoofer-upgrade
Posted by: kellsknours00.blogspot.com
0 Response to "How Tap In Audi A4 Amp To Add Subwoofer"
Post a Comment